Why You’ll Love This Soft Crust Sourdough Bread Recipe
There’s something magical about the aroma of freshly baked bread wafting through your kitchen.
When you try this soft crust sourdough bread recipe, you’ll quickly understand why it’s a favorite. The process is simple, yet the results are impressive. The crust turns golden, while the interior remains soft and chewy.
Every bite delivers the perfect balance of flavor and texture. Plus, there’s something deeply satisfying about crafting your own bread from scratch.
You’ll love how it elevates any meal or snack. Trust me, once you’ve tasted this delight, store-bought bread will never be the same again!
Ingredients of Soft Crust Sourdough Bread
When it comes to baking bread, the ingredients are just as important as the technique. For this soft crust sourdough bread, you’ll need a mix of simple, yet essential ingredients. Don’t worry if you haven’t baked much before; these items are likely already in your kitchen or easy to find.
Plus, once you have everything ready, you’ll see how rewarding it’s to make your own bread. The smell alone is worth it, right? Let’s explore what you’ll need to get started.
Ingredients:
- 1 cup active sourdough starter
- 2/3 cup milk
- 2 teaspoons sugar
- 1 1/2 teaspoons salt
- 2 tablespoons oil
- 2 1/3 cups high grade flour
Now, let’s talk a bit about these ingredients. Your sourdough starter is the star of the show; it’s what gives the bread that distinct tangy flavor and helps it rise beautifully.
Make sure your starter is active—no one likes a lazy starter, right? As for the milk, it adds a touch of richness and moisture, which is key for that soft, pillowy interior.
Sugar is there to feed the yeast and give your bread a hint of sweetness. And don’t skimp on the high-grade flour; it helps with the structure and texture of the bread.
If you’ve got some whole wheat flour lying around, you can mix a bit in for added flavor, but I’d stick mostly to the high-grade stuff for this recipe.
How to Make Soft Crust Sourdough Bread
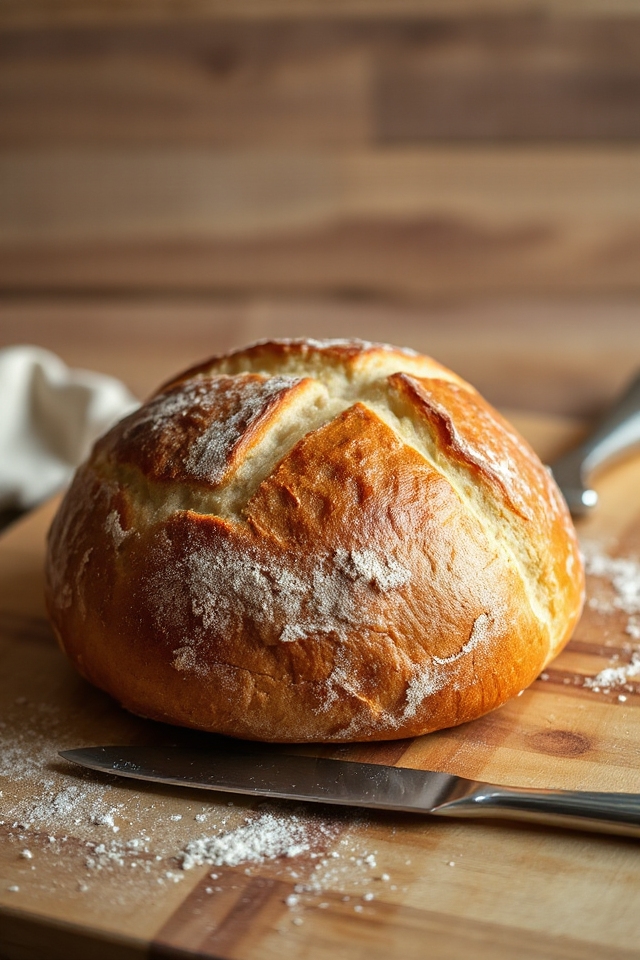
Now comes the fun part—shaping! Once your dough has risen beautifully, transfer it to a lightly oiled tray and shape it however you like. You could go for a classic round loaf or a more rustic oval shape.
Just remember, it needs to have room to grow, so cover it with a large container or a damp cloth. Let it rise one more time until it’s doubled again.
Preheat your oven to 410 degrees Fahrenheit (210 degrees Celsius), and when your dough is ready, pop it in for about 12 minutes. The aroma in your kitchen will be nothing short of heavenly.
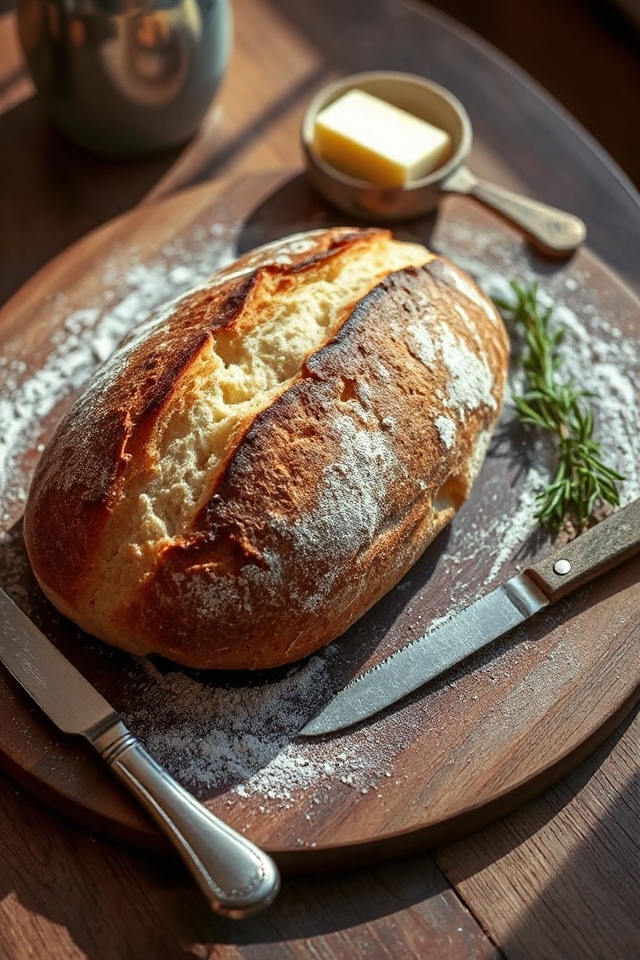
Once it’s golden and crusty, let it cool on a wire rack, and then you’re ready to slice into that soft, warm goodness. Enjoy the fruits of your labor—homemade bread is a little piece of magic, don’t you think?
Soft Crust Sourdough Bread Substitutions & Variations
After shaping your dough and letting it rise, you might be curious about how to customize your sourdough bread.
You can swap out the milk for almond or oat milk for a dairy-free option. If you want a slightly sweeter loaf, adding honey instead of sugar works beautifully.
For different flavors, consider mixing in herbs, garlic, or cheese. You can even experiment with whole wheat flour or rye flour for added nutrition and taste.
If you’re feeling adventurous, try adding seeds like sunflower or pumpkin for a delightful crunch.
The possibilities are endless, so have fun with your variations!
Additional Tips & Notes
To guarantee your sourdough bread comes out perfectly every time, keep a few key tips in mind.
First, always use an active sourdough starter; it should bubble and smell tangy. Don’t rush the fermentation process—allowing the dough to rise fully is essential for flavor and texture.
I recommend checking the dough’s readiness by gently pressing it; it should spring back slowly.
When shaping, be gentle to maintain gas bubbles. Finally, don’t skip cooling on a wire rack; it prevents sogginess.
Enjoy the process, and remember, practice makes perfect—I promise it’ll get easier with each loaf you bake!