Why You’ll Love This Classic San Francisco Sourdough Bread Recipe
Why will you love this Classic San Francisco Sourdough Bread Recipe? I can’t get enough of its tangy flavor and chewy crust.
The aroma fills my kitchen, creating a warm, inviting atmosphere. Plus, it’s surprisingly straightforward to make. I enjoy the process of nurturing the sourdough starter, watching it bubble and grow.
The satisfaction of pulling out a freshly baked loaf is unmatched. When I slice into that crusty exterior, the soft, airy interior captivates my taste buds.
It’s perfect for sandwiches or simply slathered with butter. Trust me, once you try it, you’ll be hooked on this iconic bread!
Ingredients of Classic San Francisco Sourdough Bread
When it comes to baking a loaf of Classic San Francisco Sourdough Bread, the ingredients are quite simple, yet each one plays a significant role in creating that deliciously tangy flavor and delightful texture. You won’t need any fancy ingredients; just some basic staples that you probably already have in your pantry.
The magic really happens when you combine these ingredients with a little patience and love. So, let’s explore what you’ll need to whip up this iconic bread.
Ingredients for Classic San Francisco Sourdough Bread:
- 2 cups warm water
- 6-8 cups flour (the exact amount depends on your starter’s thickness and altitude)
- 1 cup sourdough starter (unproofed)
- 2 teaspoons salt
- 2 teaspoons sugar
- 1/2 cup water (for basting)
- 1/2 teaspoon cornstarch (for the basting mixture)
Now, before you head off to the kitchen, let’s chat a bit about these ingredients. The warm water is essential because it helps to activate your sourdough starter, getting those wild yeast and bacteria ready to work their magic.
Flour is the backbone of the bread; it’s what gives it structure and chewiness. Depending on where you live, you might find yourself adjusting how much flour you use – it’s like a little experiment every time you bake.
And don’t forget about that sourdough starter; it’s the heart of the bread, bringing in that wonderful tanginess that makes sourdough so unique.
As for the cornstarch, it’s a little secret weapon that adds a lovely sheen to your crust when you baste it.
How to Make Classic San Francisco Sourdough Bread
Making Classic San Francisco Sourdough Bread can seem a bit intimidating, but trust me, it’s a rewarding adventure. Start by grabbing 2 cups of warm water and mixing it with 1 cup of your unproofed sourdough starter in a large bowl. This bubbly mixture is where the magic begins.
Next, sprinkle in about 4 cups of flour and stir everything together until it’s well combined. Cover the bowl with plastic wrap and let it rest in a warm spot for about 8 to 12 hours—overnight works perfectly. When you wake up, you’ll be greeted by a bubbly, frothy dough that smells divine. It’s like a little party in your kitchen, and you’re the guest of honor.
Now, for the next step, you’ll want to mix 2 teaspoons of salt and 2 teaspoons of sugar into your dough. This is where you start adding more flour—about ½ to 1 cup at a time. You’re aiming for a very stiff dough, so don’t hesitate to get your hands in there and knead it until it’s smooth and elastic. This part can be a bit of a workout, but don’t worry if it feels a bit sticky; just keep adding flour gently.
Once your dough is nice and smooth, cover it again and let it rise for about 2 to 2.5 hours. You can use this time to contemplate life, or, you know, maybe make a cup of coffee and scroll through your phone.
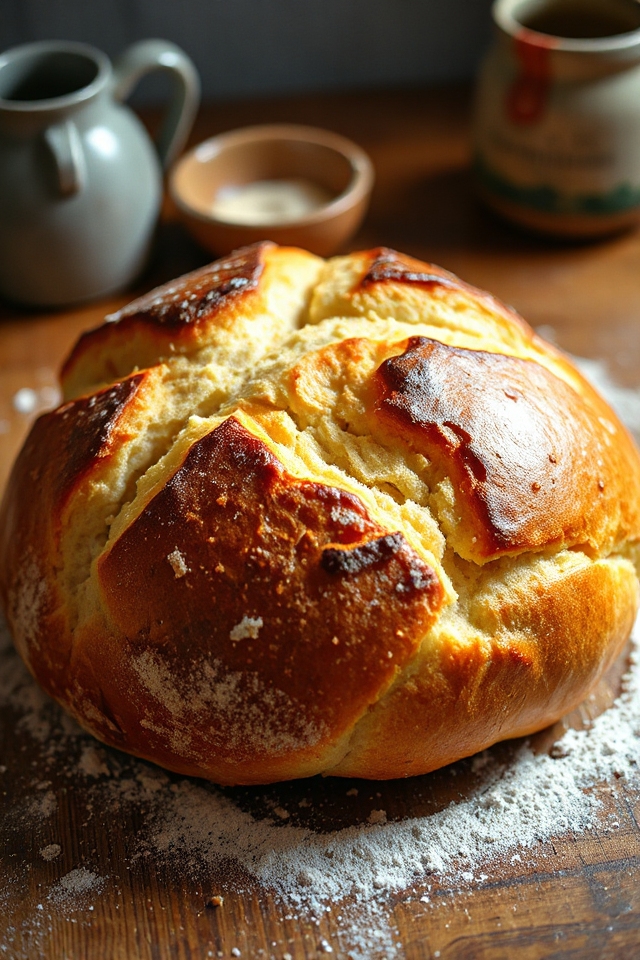
After your dough has risen, it’s time for a little punch down—literally. Punch it down, divide it in half, and shape each portion into a round loaf. Place these on a greased baking sheet, cover them lightly, and let them puff up for another hour or so.
While they rise, mix ½ cup of water with ½ teaspoon of cornstarch, then microwave it until it’s boiling. Let that cool off while you preheat your oven to 400°F.
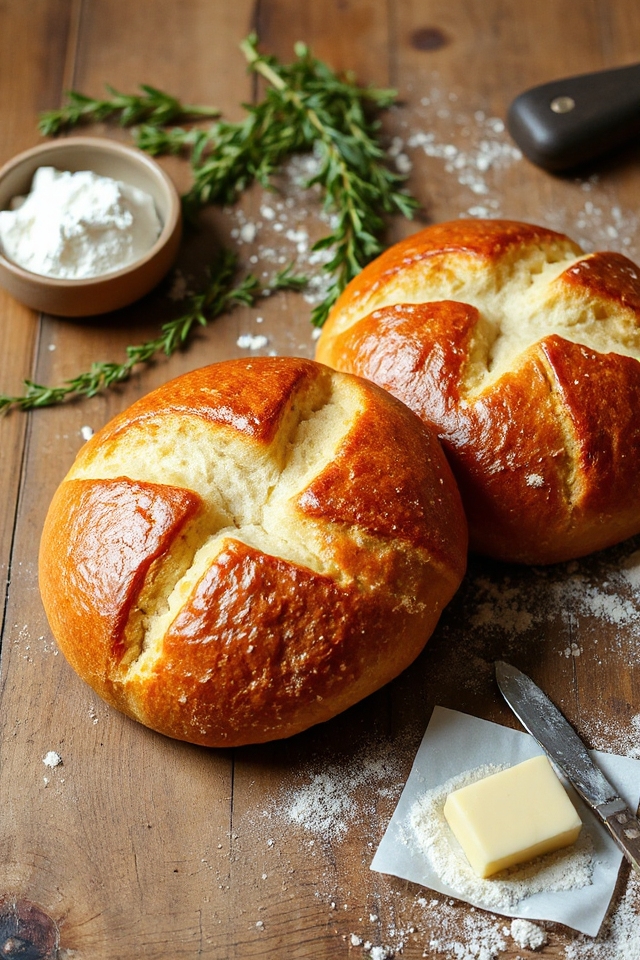
Once it’s time to bake, make some decorative slashes on the top of each loaf—this is where the bread will expand and show off its beauty. Bake for 10 minutes, then baste them with your cornstarch mixture and let them bake for another 20-25 minutes until they’re a lovely golden brown.
Just remember, the real test of doneness is that hollow sound when you tap the bottom. Let them cool for a bit before diving in, but if you’re like me, you might sneak a piece before then—who can resist warm bread?
Classic San Francisco Sourdough Bread Substitutions & Variations
After you’ve mastered the classic San Francisco sourdough bread recipe, you might find yourself wanting to experiment with different flavors and textures.
I love adding herbs like rosemary or thyme for an aromatic twist. If you’re feeling adventurous, try incorporating cheese, such as cheddar or feta, into the dough for a savory variation.
For a sweeter bread, mix in dried fruits like cranberries or raisins. You can also swap out a portion of the all-purpose flour for whole wheat or rye flour for added nutrition and flavor.
Each variation can bring something unique to this timeless bread!
Additional Tips & Notes
While you’re perfecting your sourdough, keep in mind a few key tips to elevate your bread-making experience.
First, use a digital kitchen scale for precise measurements; it really makes a difference. I also recommend using filtered water, as chlorine can inhibit yeast activity.
If your dough feels too sticky, don’t hesitate to add a little more flour—but be cautious not to overdo it.
Always allow your dough to rise in a warm, draft-free spot.
Finally, don’t rush the cooling process; letting it sit for a bit enhances the flavor.
Enjoy the journey, and happy baking!