Why You’ll Love This Sourdough Pizza Shells Recipe
When you try this sourdough pizza shells recipe, you’ll quickly realize how easy and delicious homemade pizza can be.
I love how it transforms simple ingredients into a crispy, flavorful crust. There’s something magical about working with sourdough; it adds a depth of flavor that store-bought options just can’t match.
Plus, the process is so straightforward—mix, roll, and bake! I appreciate that I can customize toppings to match my cravings, making each pizza a unique creation.
Whether it’s a quick weeknight dinner or a weekend treat, these shells make every pizza night special and satisfying. You’ll definitely love them!
Ingredients of Sourdough Pizza Shells
To whip up some delightful sourdough pizza shells, you’ll need a few simple ingredients that probably aren’t too far from your kitchen. This recipe is all about embracing that tangy goodness of sourdough while creating a base that’s crispy on the outside and soft on the inside.
It’s one of those recipes that makes you feel like a culinary genius, but really, it’s as easy as pie. Or should I say, pizza? Let’s explore the ingredient list.
Ingredients for Sourdough Pizza Shells:
- 1 cup sourdough starter
- 1 tablespoon shortening, melted
- 1 teaspoon salt
- 1 cup flour
Now, while these ingredients are straightforward, there are a couple of things to keep in mind. First, your sourdough starter should be active and bubbly for the best results. If it’s been hanging out in the fridge for a while, give it a feeding and let it rise before you start.
The flour can be all-purpose if that’s what you have, but consider trying whole wheat for a nuttier flavor. And don’t stress too much about perfection; the beauty of homemade pizza is in the imperfections.
Each pizza shell is a canvas for your creativity, so don’t hesitate to experiment with different toppings or herbs mixed into the dough. Who knows, you might just stumble upon a new family favorite!
How to Make Sourdough Pizza Shells
Next, it’s time to add in 1 cup of flour. You can start mixing with a spoon, but when it gets too tough, roll up your sleeves and use your hands. Knead it gently until you have a soft dough—this may take a minute or two, but don’t worry; you can do this. It’s all about finding that perfect texture, so if it feels too sticky, sprinkle in a bit more flour.
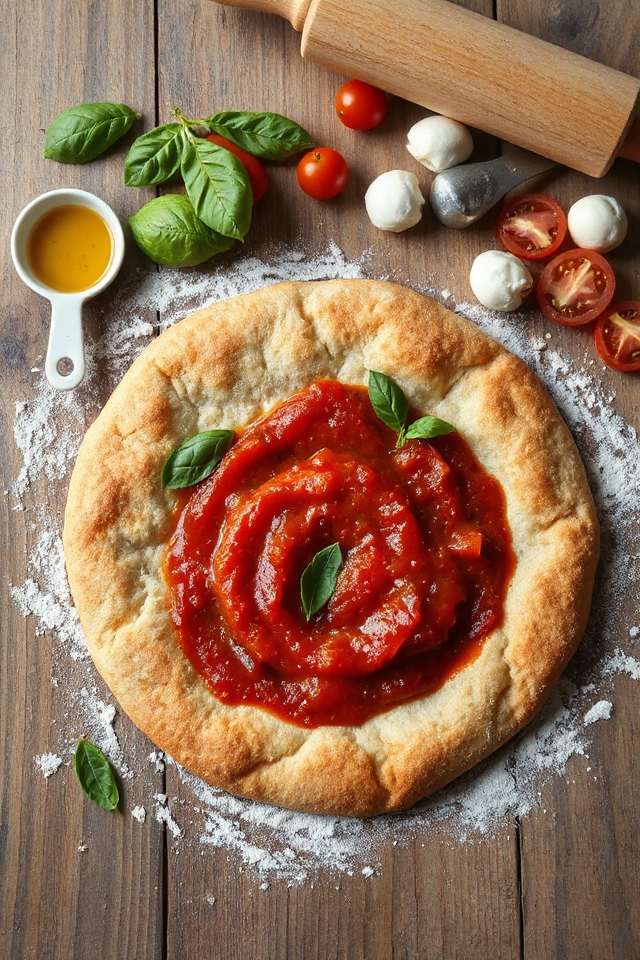
Once you have your dough, roll it out into a flat shape. Don’t stress too much about perfection; we’re not in a pizza beauty contest here. Just make sure it’s an even thickness, so it cooks nicely.
Now comes the fun part: baking. Preheat your oven to a nice, toasty temperature. Before you pop that dough into the oven, dash a little oil over the surface of the sheet you’ll be baking on—this helps prevent sticking and adds a delightful crispiness.
Place your rolled-out dough onto that oiled sheet and bake for about 5 minutes. Keep an eye on it, though; you don’t want to end up with a burnt offering.
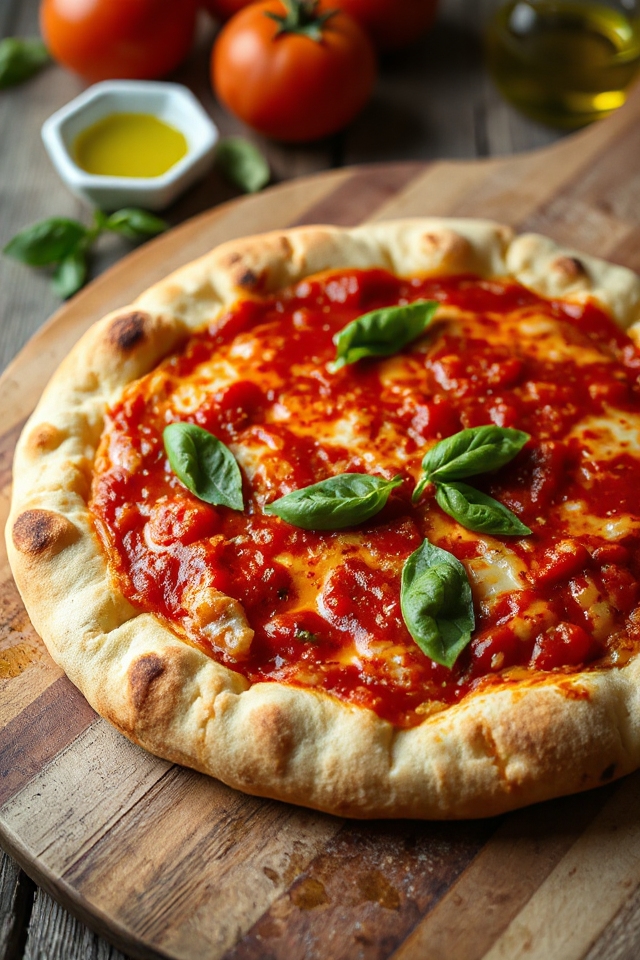
While it’s in the oven, get your pizza sauce and toppings ready. Because once that shell is done, you’re in business to assemble your masterpiece. After you’ve added your sauce and toppings, bake it again as you usually would.
And there you have it—sourdough pizza shells that are sure to impress, even if you might’ve a flour-covered kitchen by the end of it. Enjoy the process, and remember, every pizza is a celebration!
Sourdough Pizza Shells Substitutions & Variations
While I love the classic sourdough pizza shells, there are plenty of ways to customize the recipe to suit your taste or dietary needs.
For a gluten-free option, I’ve used a 1:1 gluten-free flour blend, which works surprisingly well. If you prefer a richer flavor, try substituting olive oil for the shortening. You can also mix in herbs like oregano or garlic powder for added depth.
For a whole grain twist, I’ve experimented with whole wheat flour, which gives a nutty taste. Whatever you choose, don’t hesitate to get creative and make these pizza shells your own!
Additional Tips & Notes
When making sourdough pizza shells, it’s essential to remember that the dough can be a bit sticky, so I recommend keeping some extra flour on hand for dusting your work surface.
Also, let your dough rest for about 30 minutes before rolling it out; this helps relax the gluten.
If you prefer a crispier crust, bake the shells a minute or two longer, but keep an eye on them.
Don’t forget to preheat your oven to guarantee even cooking.
And finally, feel free to experiment with different toppings; the possibilities are endless! Enjoy your homemade pizzas!